I’ve given it a lot of thought and I really don’t have time to continue writing on this blog. My efforts need to go into starting a new online business.
My knitting blog gets a lot of views and that is where I need to write. Not many people grow vegetables in Florida, and the viewership just does not make it worth my while.
It is not the first time this blog has gone dormant. I’ll probably just give it up, but right now I am giving up on too much, so this must wait.
Also it is the end of the year, which seems appropriate to close up shop.
To all who have visited, commented, and read my little stories, I thank you.
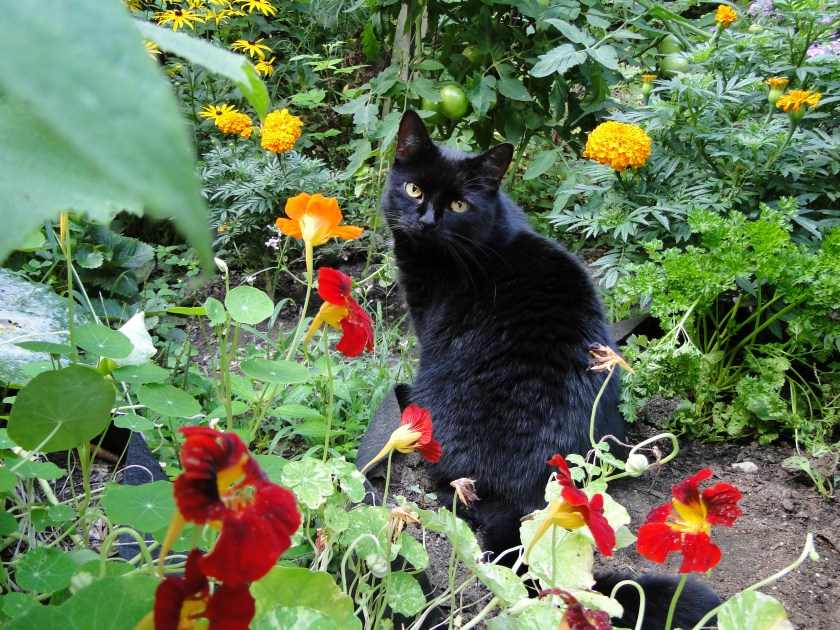
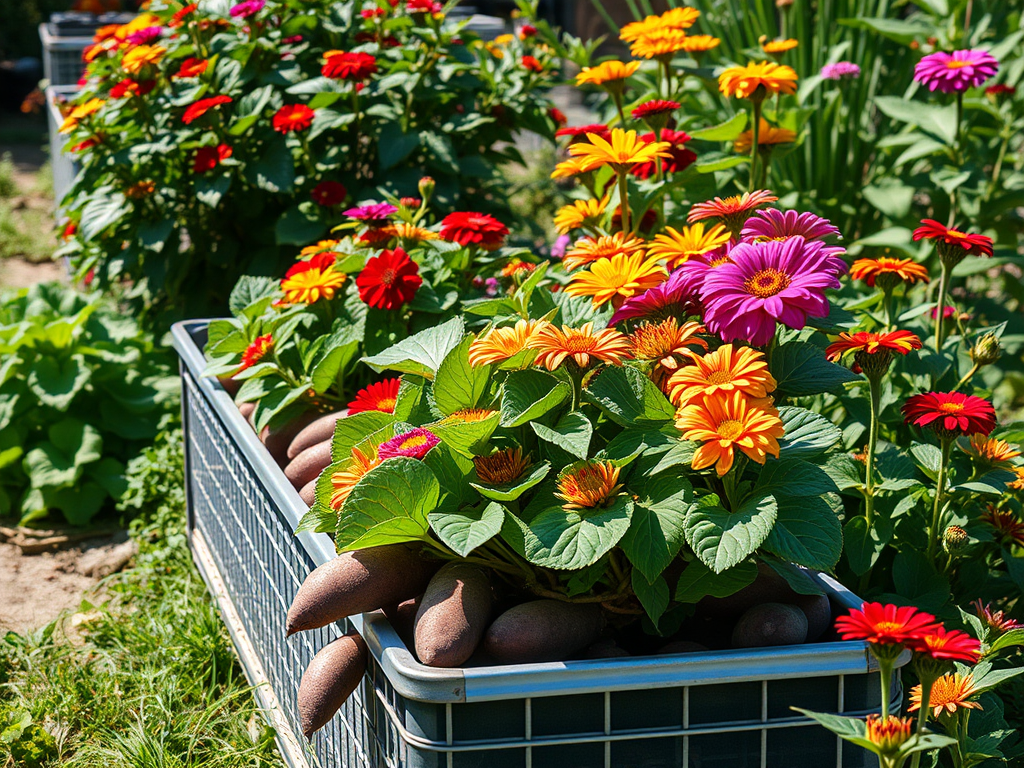
(The first image at the top of this post is not me, but was created with AI. The bottom image is mine. Skittle in my New Hampshire garden. It’s one of my all time faves.)
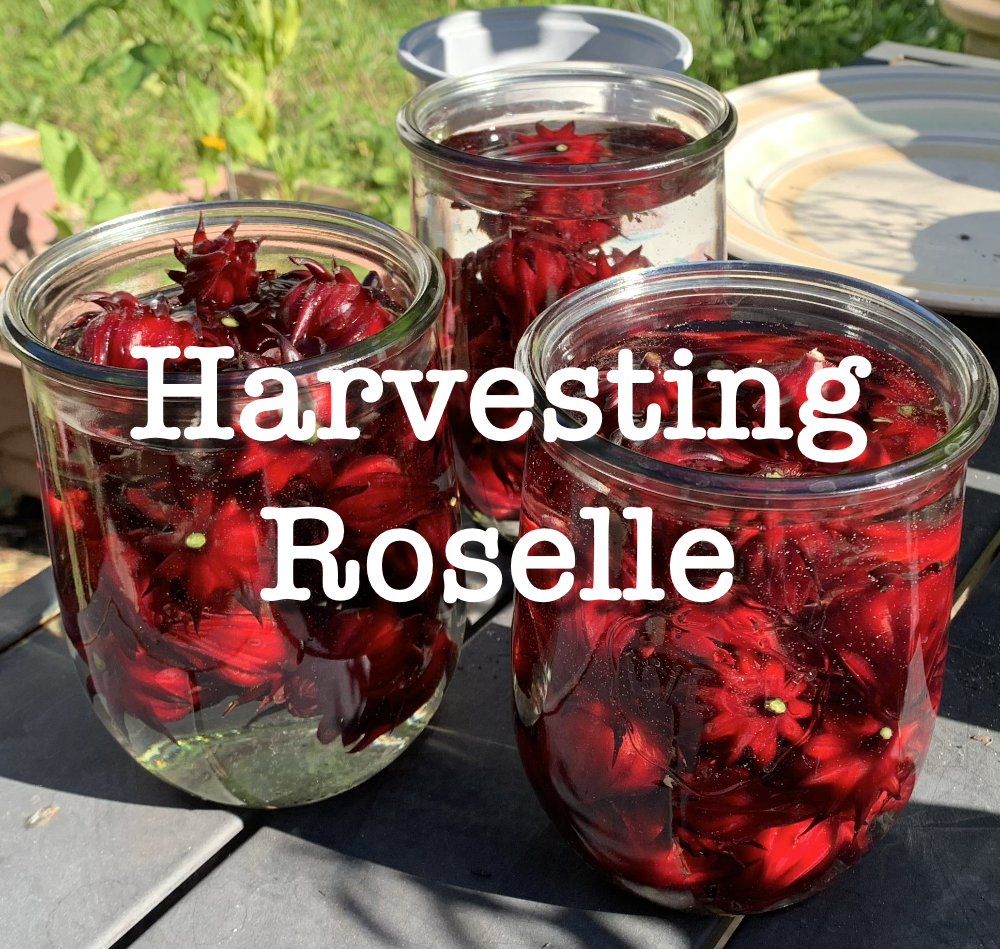
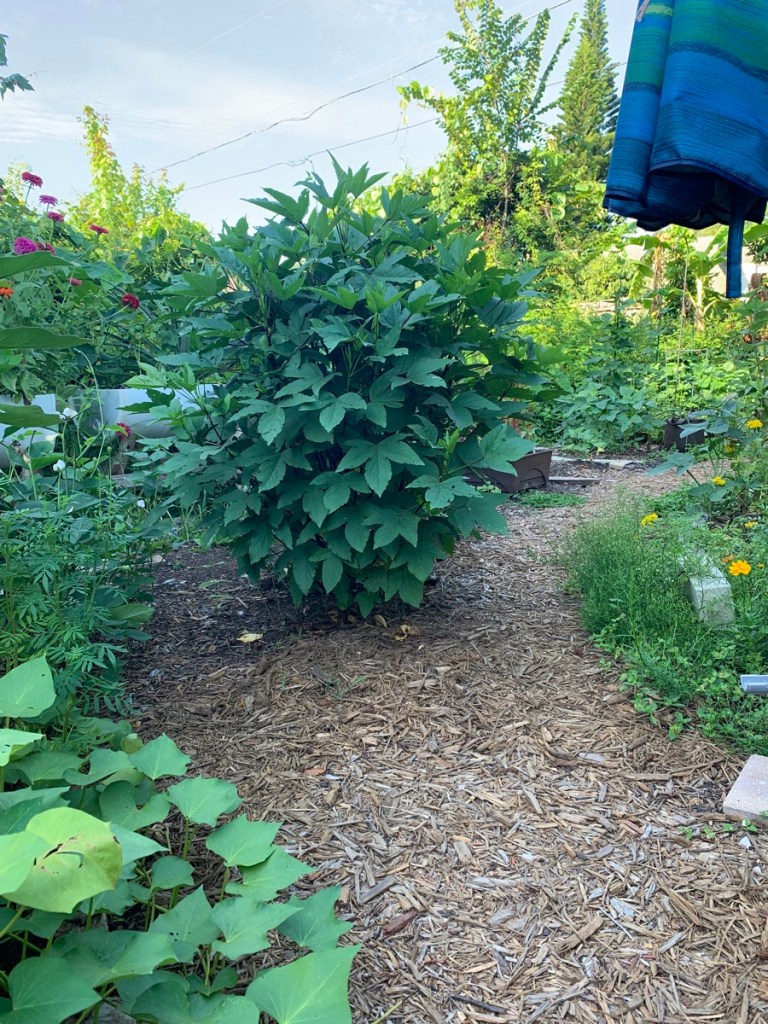
This year I grew a few Roselle Hibiscus bushes to collect the pods and make tea. Ants are always a problem, but I found an easy solution.
Last week I began cutting off the larger roselle hibiscus pods. Once they flower, the pod, or calyx, gets big with the seed pod inside. The red outer petals are ready to use.
This year only two large Roselle hibiscus plants were growing in the ground. I learned my lesson after the first year when I had way too many big, bushy roselle plants.
One plant would be plenty for me, but I guess I planted two to be on the safe side. I like to have the petals to make tea.
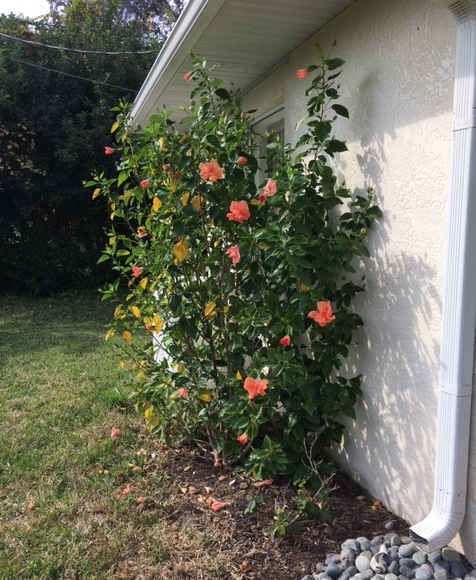
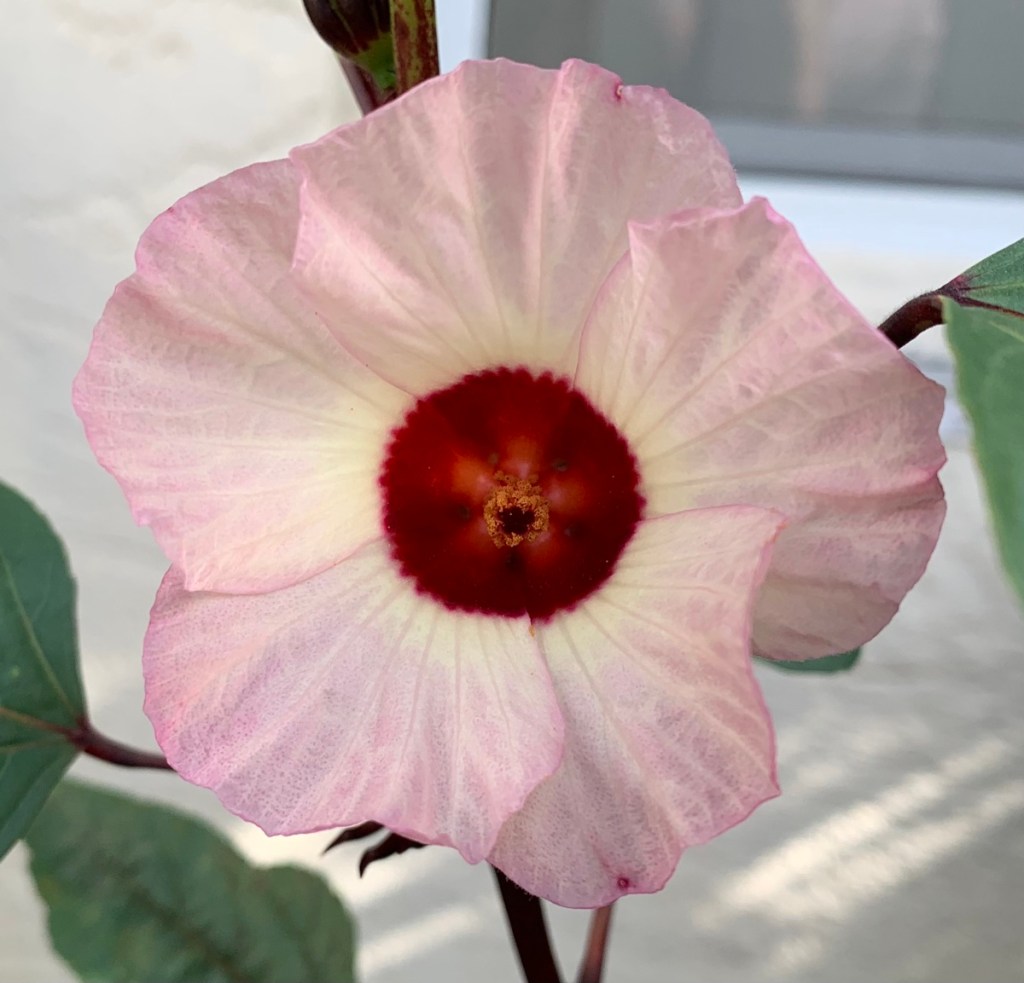
This hibiscus variety is not the same as the hibiscus that flowers and becomes a big bush here in Florida. The Roselle has flowers, that last about a day, but the pods that come after are what we want.
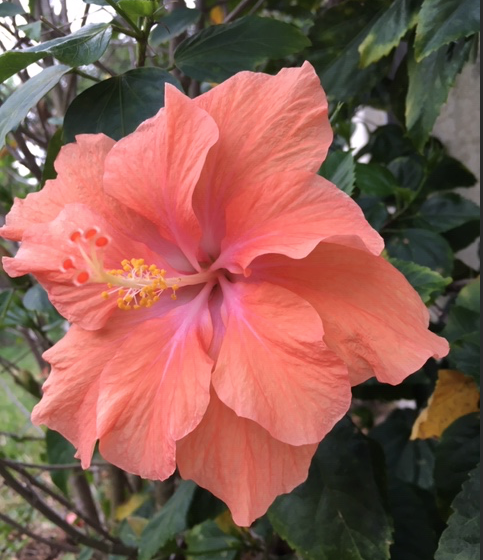
Decorative hibiscus (not edible)Hibiscus flower – no pods form on this one
Dealing With the Ants – No Sprays Needed
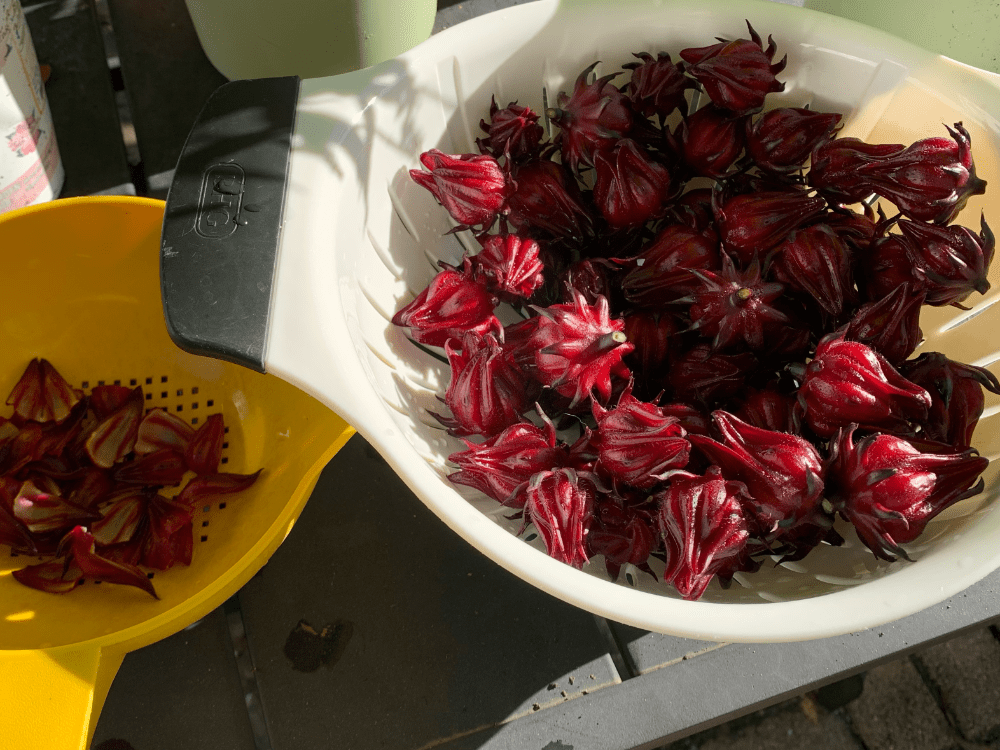
Ants are drawn to the pods. If I wait too long there will also be white mealybugs inside the petals also. This year I harvested the largest calyxes (or pods, as I call them) in early October. Many large pods had already formed, but lots of smaller ones were still coming.
I soaked all the harvested pods in jars of water outdoors. This either killed the ants, or caused them to crawl out and leave the pods. By the way, these were not biting ants.
After a bit of a wait, I drained the pods and began to peel off the red petals. All the ants were gone. I found only one mealybug, so I think harvesting early helps with that.
Ant removalDrained and ready to peelPeeling
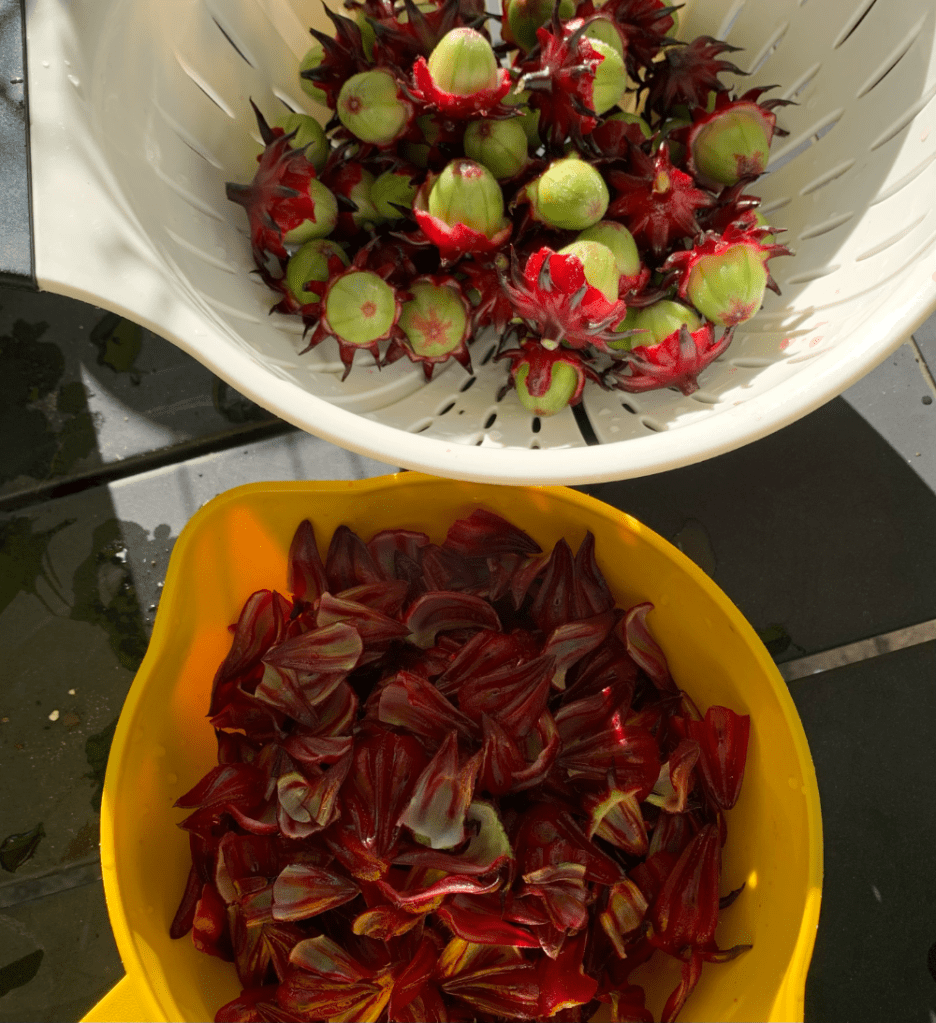
Once the petals were all removed, the remaining green pods went into the compost. I rinsed and dried the red petals and stored them in the freezer. I’ll take them out to use when making tea.
Simple Tea
All I do is boil water and let the petals soak in it for 10-15 minutes. Sometimes I make an herbal tea and simmer the roselle along with Moringa leaves, Maypop, rosemary and basil. Or, I use whatever is growing in the garden.
Roselle teaRoselle hibiscus flower
After the harvest of the biggest pods, I cut down the plants, leaving only a couple of tall stems. I’ll collect a few of the pods when they are dried and save the seeds inside. This hibiscus likes the heat and does not continue to grow over the winter in my yard.
The seeds will be planted next year to grow one, or two, new roselle bushes. No more than that!
Here are five crops that can be planted in a Florida garden over summer. They will grow without much attention, and that keeps you out of the heat.
Gardening in Florida is different to say the least. Summer is hell here. It is simply unbearable to be outdoors. If I get outside before the sun hits the little patch of yard that is my garden, I can bear it for a very short time. The humidity is killer.
However, I love to grow things. I’ve come to realize that there are a few crops that can grow during a Florida summer and they need no attention. That means you can stay indoors during dry spells. Watering every morning won’t be necessary.
Sweet Potatoes
Find a good place in the yard, that can be dug up easily, and plant sweet potato slips. This coming Spring I will be ordering purple sweet potato slips. I plan to plant them in one of my Vegega raised beds once again. I found that digging them up was tough, but I don’t really have any other place to grow them.
This past summer I filled the long bed with sweet potatoes and zinnias. The vines got all tangled in the flowers, so I won’t do that again! The potatoes won’t be dug until the end of summer, or beginning of Fall, but the leaves can be used in salads all summer long.
My long oval raised garden bed made of metal, with sweet potatoes and zinnias growing.
Roselle
Roselle plants create calyxes (sp?) that can be used to make tea. The plants will grow from seed, and take off by mid-summer. Each plant grows into a wide bush, so make sure you have space for them. One or two plants will give you a lot of little red tea leaves to save by Fall.
Be aware that these shrubs are not strong. We had a storm come through and it broke the Roselle you see in the photo below.
Roselle bush in 2024
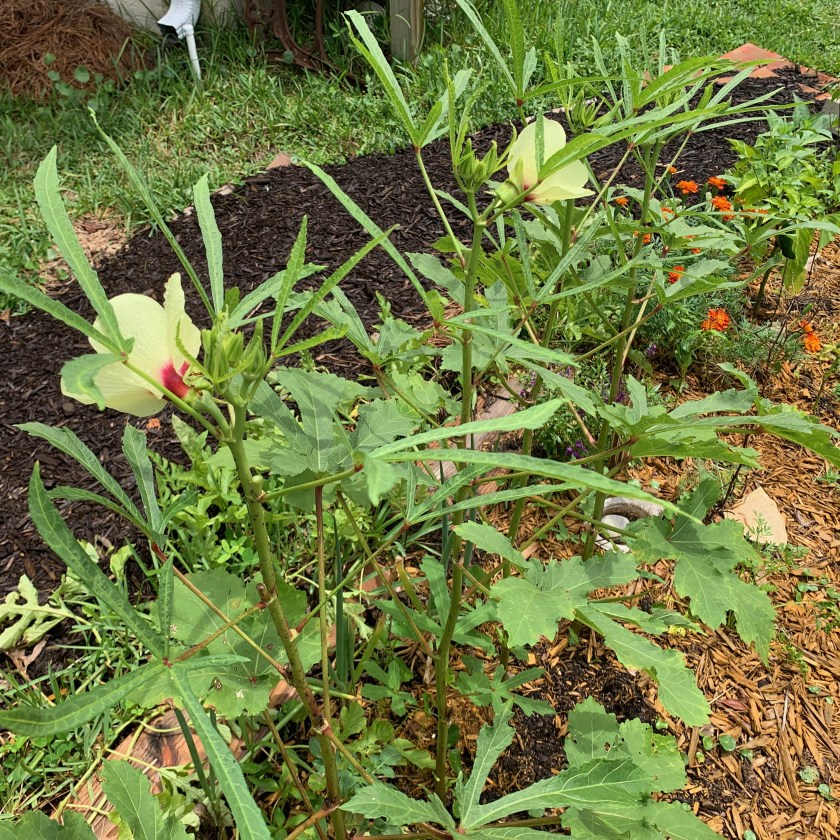
Okra (Yuk.. but…)
I grew okra the first year I had a garden. I’d never grown or eaten okra so I wanted to try it. And what a pretty plant! The good news is that it grows like mad. The bad news (for me) is that it is simply disgusting to eat. If you like this vegetable, and live in the south, grow it.
I’ve recently been getting into fermenting vegetables. Supposedly fermenting okra, for at least 4 months, will remove the slimy texture. I may try it.
Okra plants have such pretty flowers
Basil – Specifically Tulsi, or Holy Basil
Basil is tough to grow here in Florida. But once I began to grow Tulsi, or Holy Basil, it simply grew. I didn’t have to work at it, and now it is popping up all over the yard. The only trouble I have is that in Fall the little bugs (aphids?) hit the new growth and I have to remove it. But this basil can take the heat – especially in a shady location. I use it a lot, in cooking, salads, and tea brewing.
Holy basil in my yard
Cowpeas
These are dried beans and they come in many varieties. I grow them as a cover crop and not to eat. For this reason I plant them and forget it. Cover crops keep the soil good by shading it and putting nitrogen back in (like green beans). I look at it as a way to feed the empty areas in the garden.
The first year my cowpeas grew so tall that I put stakes up for them to wrap around. I saved some of the dried pods for planting the beans (they are like beans, not peas) but have never eaten any. If you want to save the seeds, bring the brown pods inside to dry before they get moldy from the humidity.
This past summer I only grew a few cowpeas and they stayed fairly small. The flowers attract bees, but the bean pods attract ants. Watering is unnecessary. When the stalks are ready to be cut down, they make a great addition to the compost pile.
Plan and Buy Seeds in Advance
Everything I grow is started from seeds. The sweet potatoes are an exception as they grow from slips, or little cuttings. I like to plant directly in the ground, or raised beds, or buckets, because I detest little tiny pots! Seeds are cheap. Yes, it takes longer to grow from seed, but we have a long season here in Florida.
Just remember that all you plant and grow in summer must be cut down and removed for the Fall planting. Some things, like herbs (the basil), can be left to grow where it is. The basil will re-seed itself, so watch for little plants popping up nearby.
It’s not like you will have plates of delicious food to eat from these crops, but it’s always fun to watch things grow. Meanwhile you will be feeding insects that enjoy the flowers.
Here I have a photo of my Fall garden. It is hard to tell what is growing, and honestly not much in the way of food just yet. The seeds have all been planted except for Kale and dill. I will also grow more green beans along the way when I find space. (I’m already eating a few!)
I need more mulch. More grass needs to be pulled. Gardening is constant, but I am making headway.
The Roselle plants are looking awesome and I should have some red pods for tea soon. (Yup, I’m beginning to pick the pods.)
I’m growing Daikon radishes once again, even though last year I had so many. I was using them in salads last year, but this year I plan to ferment them!
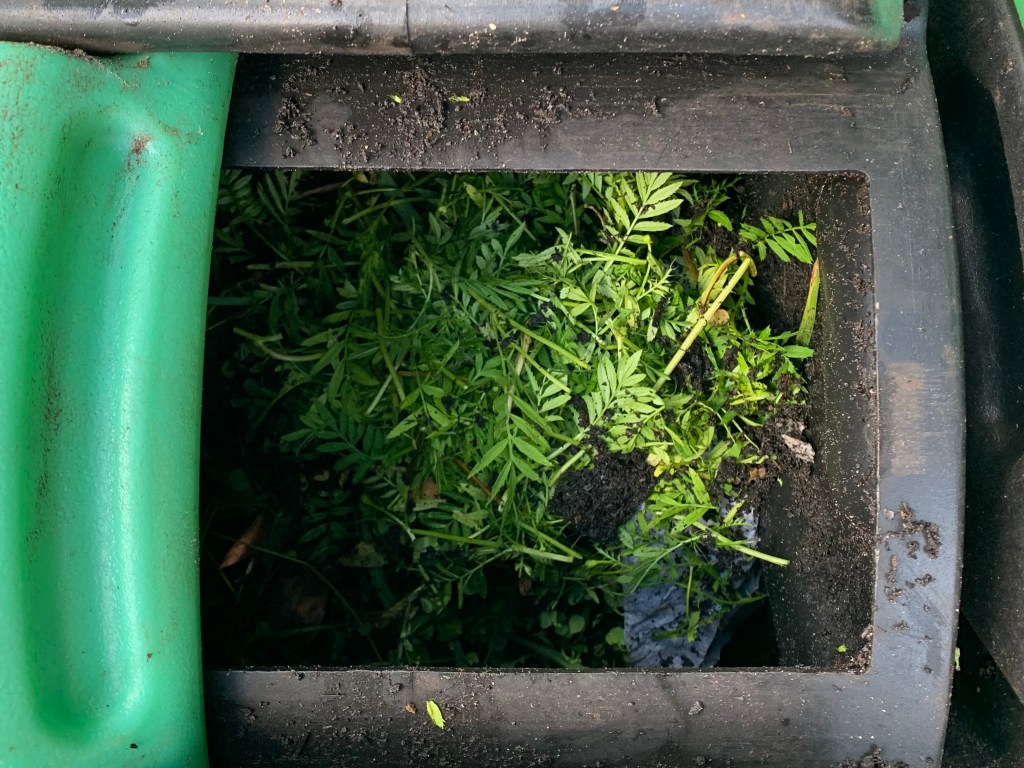
Homemade compost is being added to all areas of the garden. More compost is brewing in the bins.
Composting
Chopping up the Marigolds and adding to the composter -My Hot Frog.
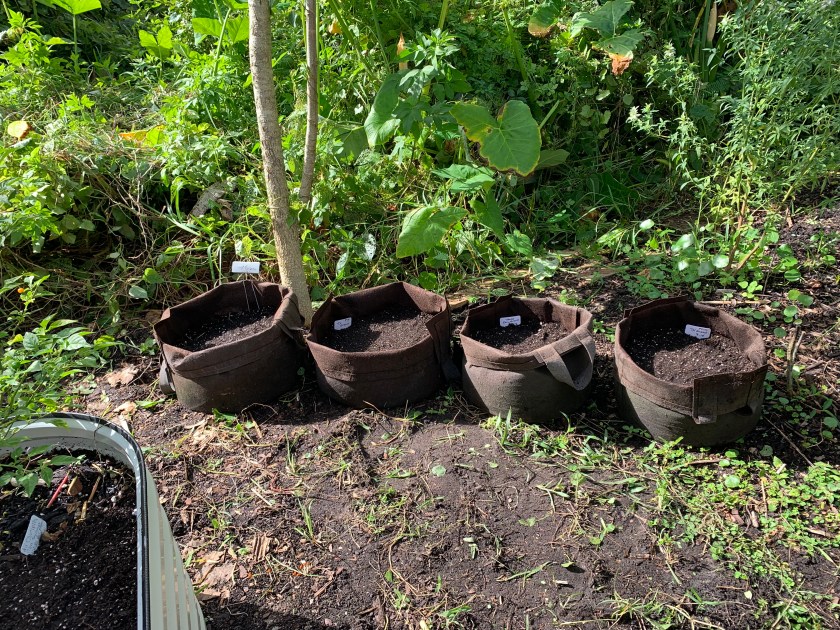
Onion bags
Fabric bags have been filled half full and onion seeds have been planted. Onions don’t have such long roots. I’m filling all my bags part way and rolling down the sides. They are planted with Texas Grano bulb onions.
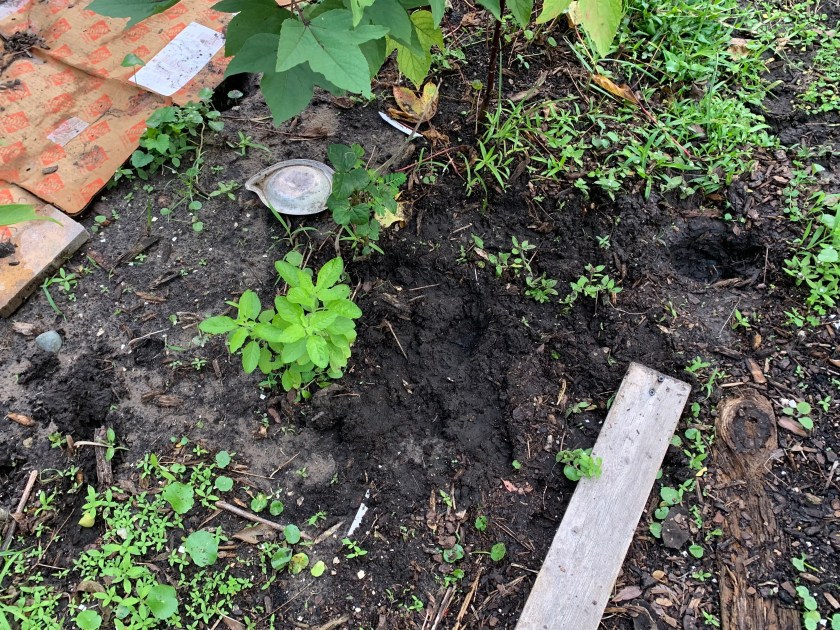
Each day new holes are dug – by armadillos I presume – and old holes are getting deeper. This area will mostly hold flowering plants and dill. That way if things get dug up it’s not such a big loss.
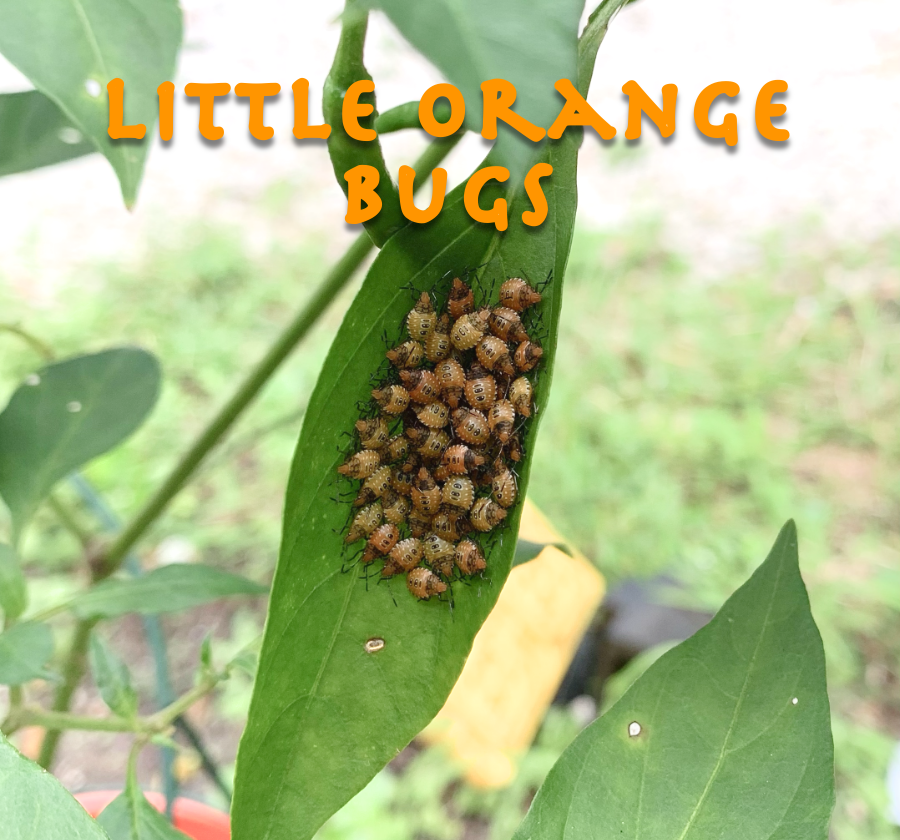
I need help identifying this cluster of little orange bugs. They are on a Cayenne pepper leaf.
I noticed this cluster of something on a pepper leaf outside my window. At first glance, I thought it looked like a bunch of little snails. I do have bad eyes. Once I got a photo and zoomed in, I could see it was many little orange bugs.
The cluster of little guys is located on a Cayenne pepper leaf. They are not ladybugs, but that is all I knew.
When searching for orange bugs with black spots, I get Assassin bugs and Milkweed bugs. Neither one looks like this, but I know these are young. Assassin bug nymphs are not shaped like this, and if they are Milkweed bugs, why are they on the pepper plant? I do have milkweed plants in the yard.
A reader once told me that if they are in clusters, they are bad. Can anyone help identify these little guys?
Hey, thanks so much. Now I know that these are stinkbugs. I removed them from the peppers and we are all good now!
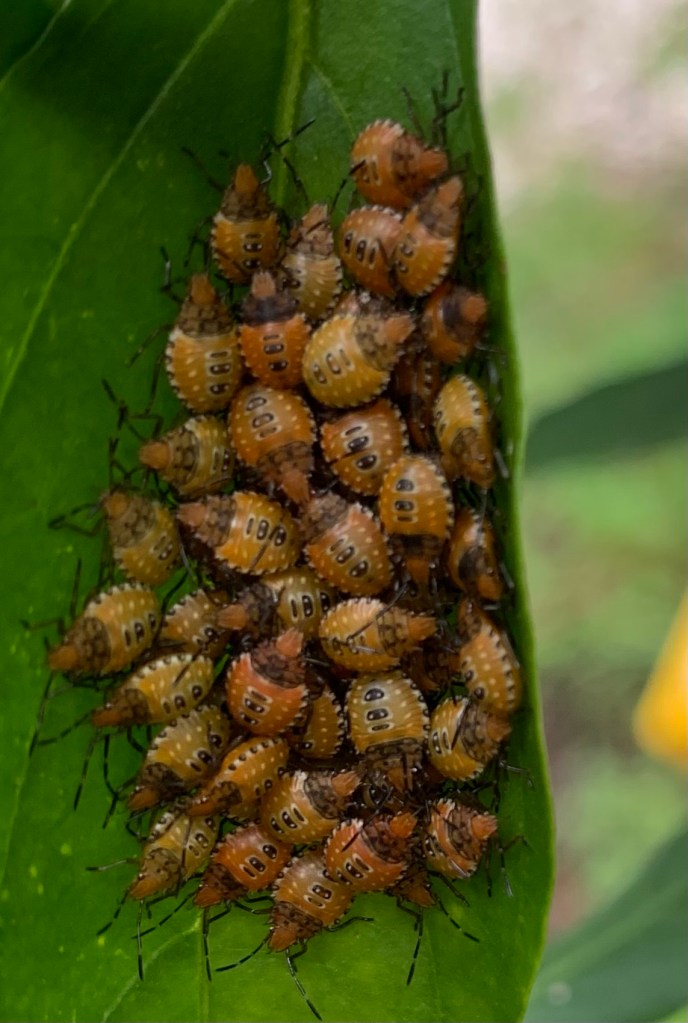
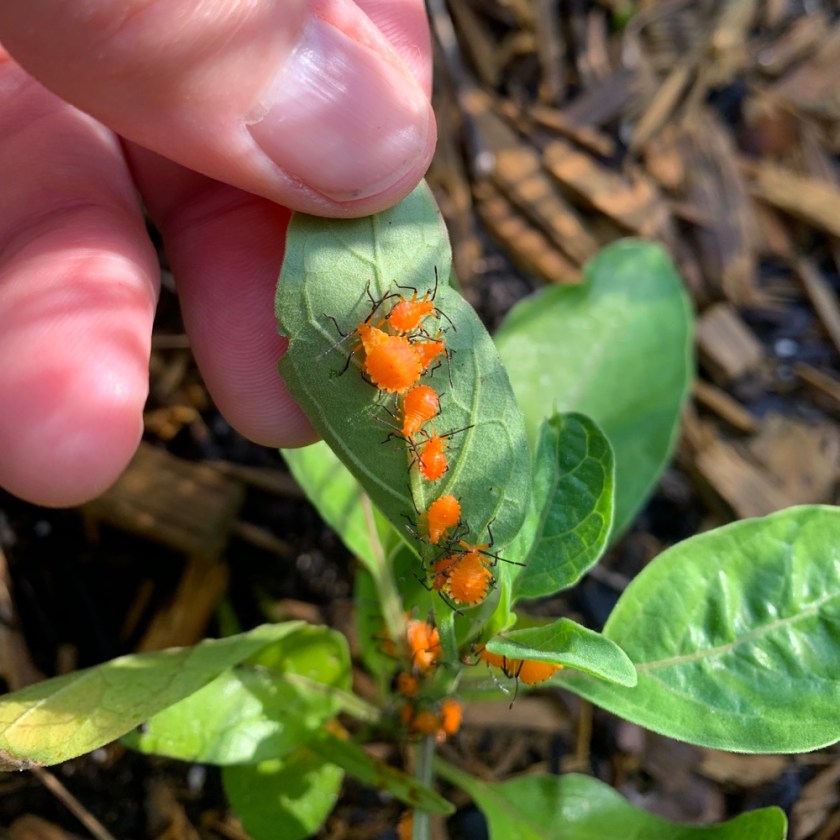
Others
I’ve had little orange bugs before. They are the nymph stage of the Leaf-footed bug. These were all over the wild, ground cherries.
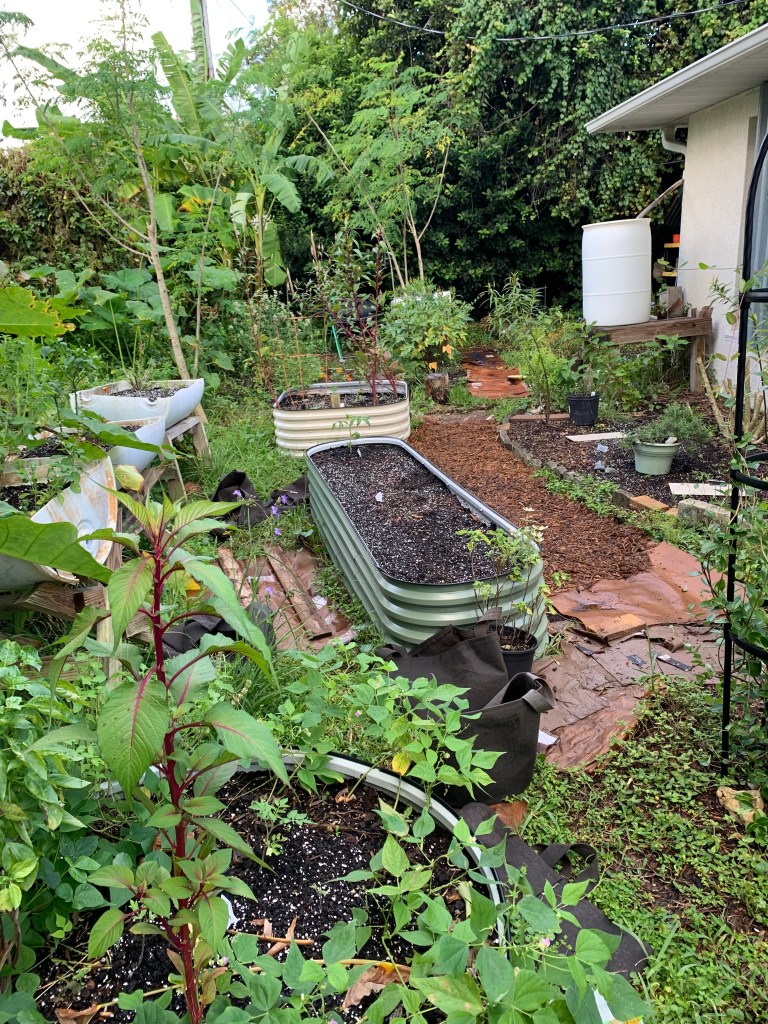
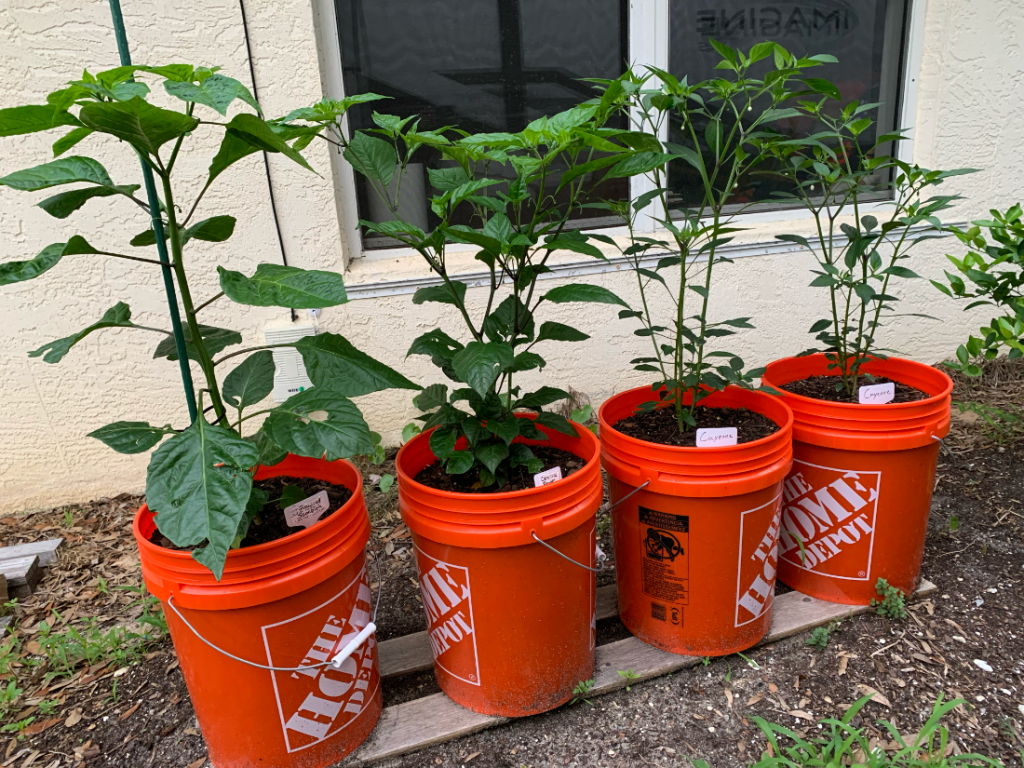
I’m trying a new way to grow larger individual vegetables in my small garden space. Tall buckets may serve well as pots for tomatoes, peppers and eggplant.
Trying to grow food in a Florida backyard has proved to be challenging. Luckily, I have all year long to figure things out! Or, maybe that is not such a good thing. All I know is that vegetable gardening in my little Florida space has not been easy. Now, I am trying buckets to grow my larger plants with deep roots.
The grow boxes are great, and I’ve grown eggplant, peppers, and tomatoes in them. They are not really deep enough to accommodate the roots of those larger plants. Directly in the ground planting should take care of that problem, right? I don’t have a lot of luck growing things in the ground. The garden dirt is not great yet. Raccoons and armadillos dig things up.
I had four eggplants, which were started from seed, all growing in the ground. Three have died, and one has been growing for 2 or 3 years and never given me a single eggplant!
I cannot keep doing the same thing and hoping it will get better. The soil is constantly being amended, all over my yard. But my thought is to maybe have a flower garden out back, and keep the veggies in the raised beds – or in deep buckets.
I have three raised beds (Vegega metal beds) that are pretty good size. Everything else is either barrels on stands, or grow boxes. I had to take the grow boxes apart last year and drill holes in the bottom to fix the drainage issues. Now they are ready for Fall veggies. But long rooted vegetables need something else.
Buckets as Growing Areas
My son began growing some hot peppers this year and he used Home Depot buckets to do so. Each pepper was started in a small pot, most were started from seed. They are thriving in the buckets!
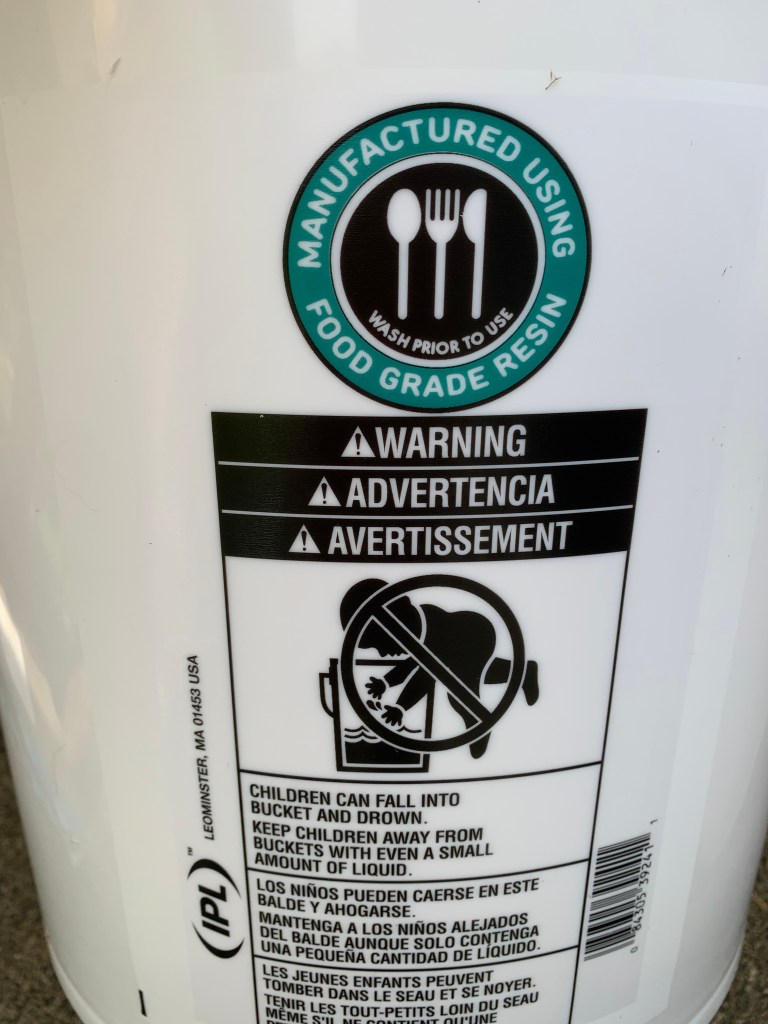
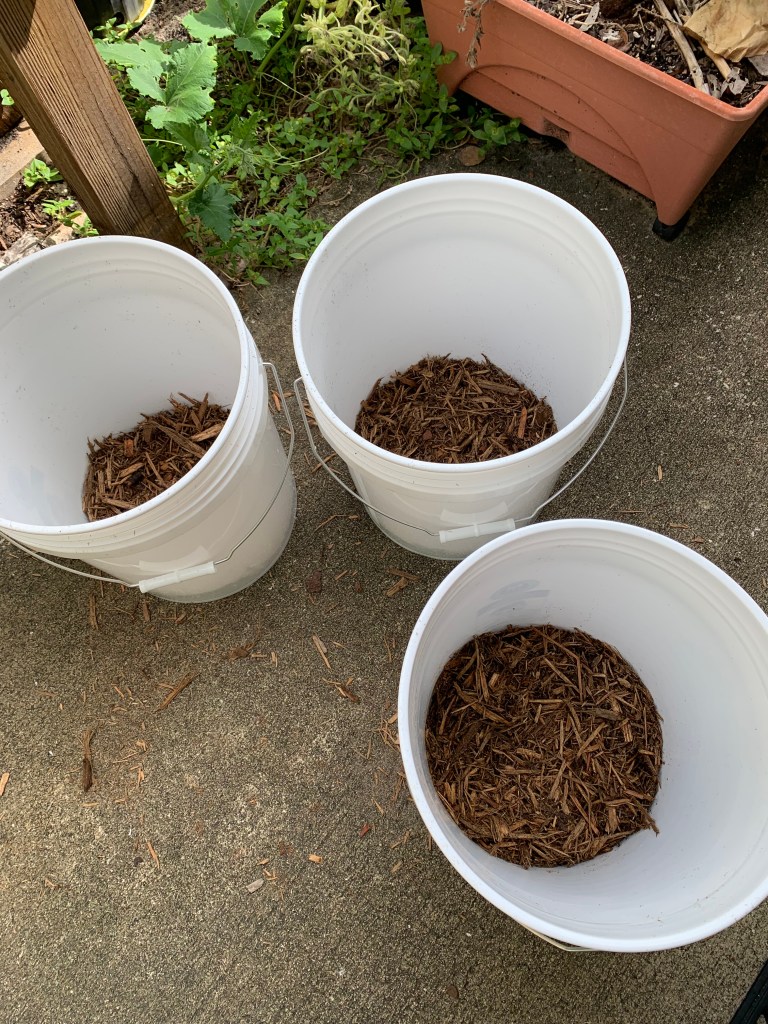
I’m not sure how well that plastic works for growing food crops, so I bought some “food grade resin” white buckets.(Amazon paid link) They cost me around $6 each. My son drilled some holes in the bottom.
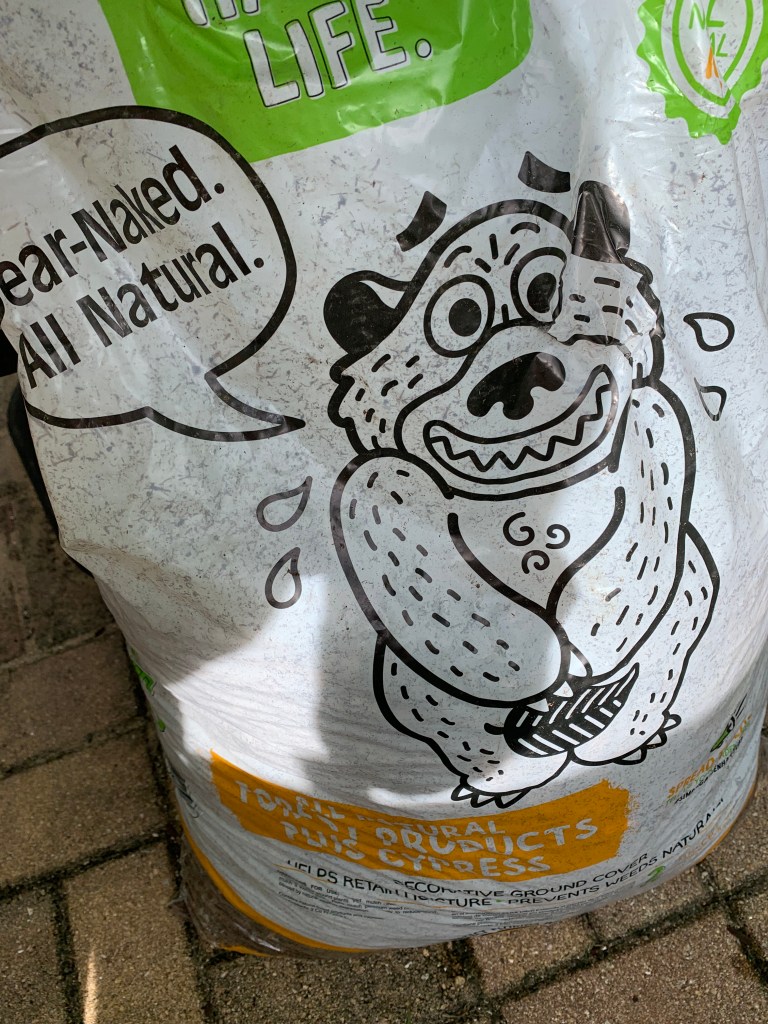
Bear Naked mulch is going into the bottom of each bucket for drainage. Happy Frog potting soil (paid link), mixed with fish bone meal (paid link), as the filler.
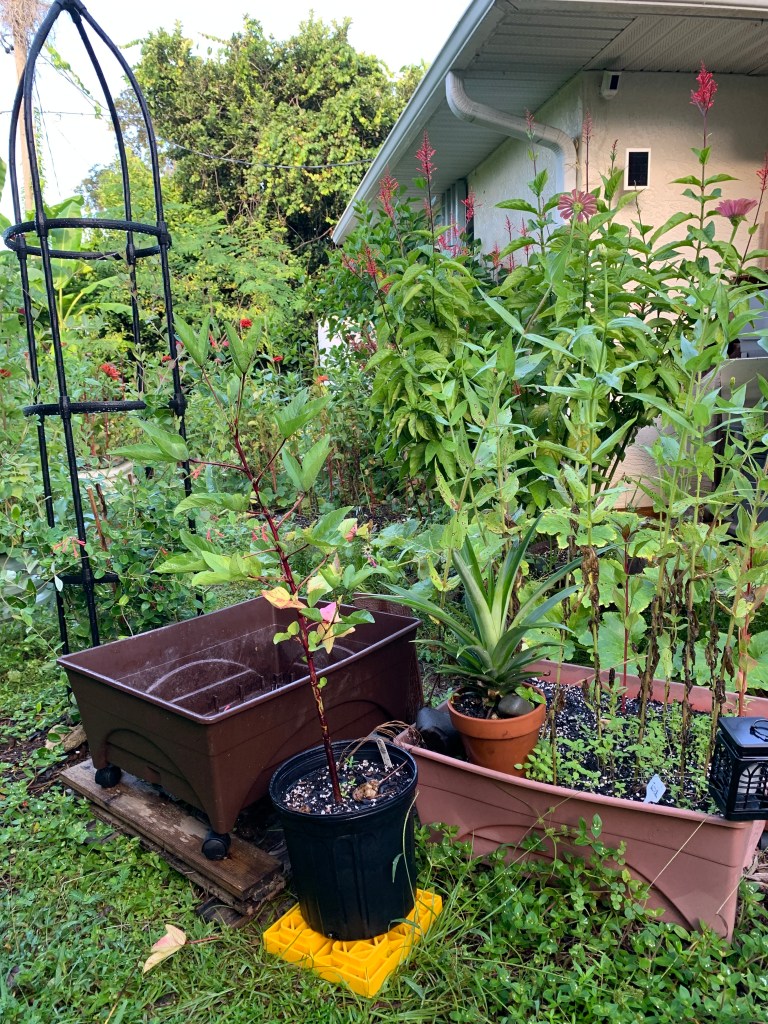
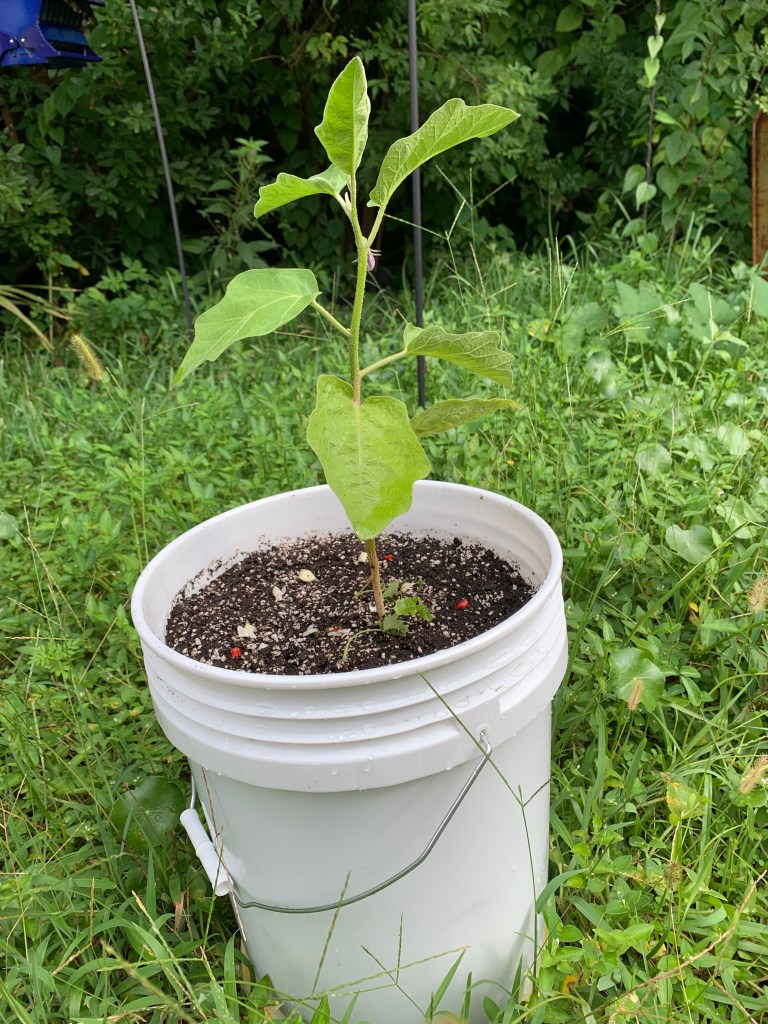
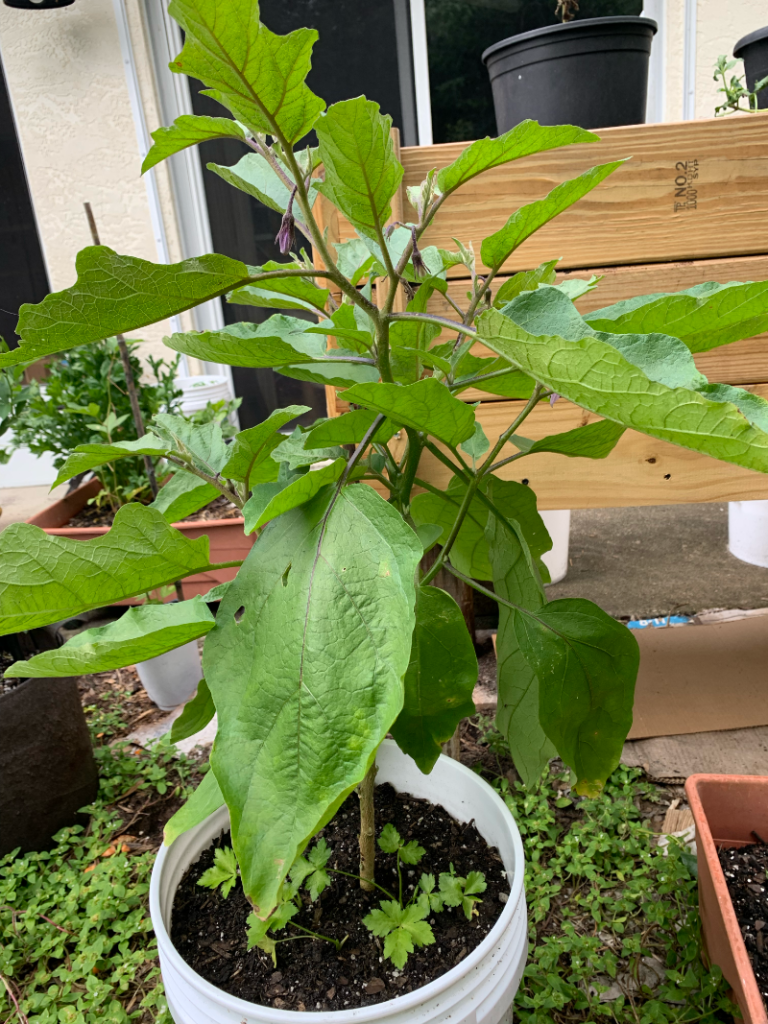
An eggplant and banana pepper plant have been transplanted. I’ll need to find a way to keep the buckets from being directly on the ground. This is to help keep ants from using the pot to make a nest. For now, I am using some plastic dinner plates underneath. But then…..
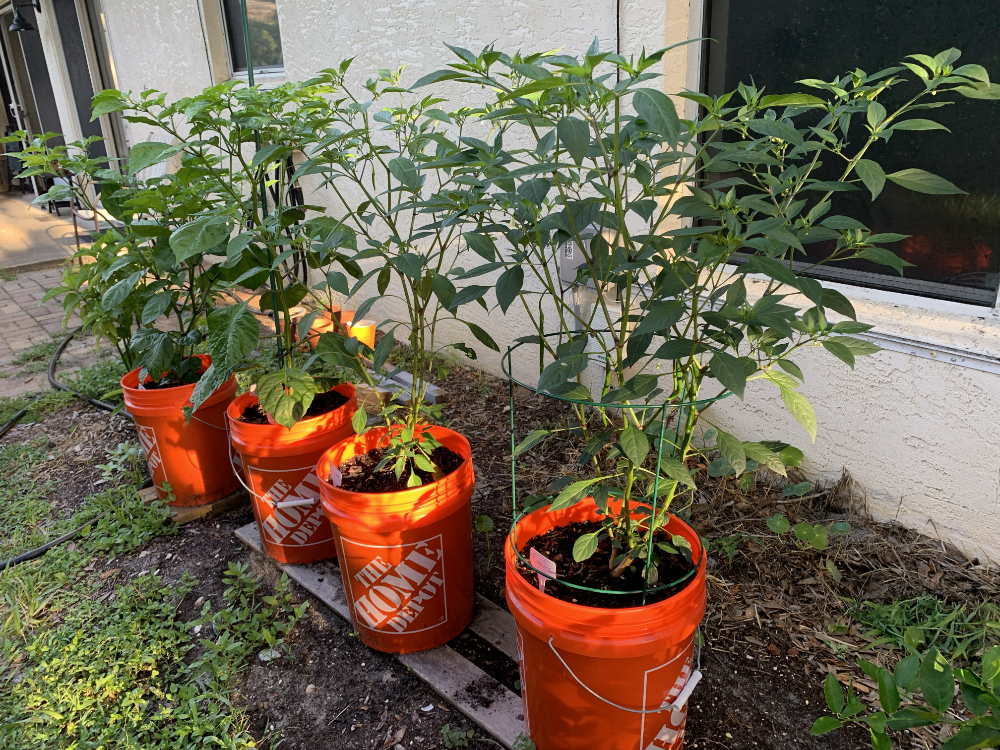
I decided to buy new RV levelers (paid link) and use the old ones to keep buckets off the ground! We use these to level our camper at campgrounds, and in the yard. Campers need to be level to use the slide, awning, and keep the water tanks reading correctly. They are heavy duty plastic with an open grid pattern for water and dirt to pass through. They seem perfect for raising pots off the ground!
Yellow leveler under the Roselle Eggplant, first plantedBanana pepper
When pots sit on the ground around here, ants tend to set up house. Fire ants will completely fill a pot unless I am diligent. I hope the leveler idea will work, but I will still have to check for ants.
Eggplant after a couple weeks
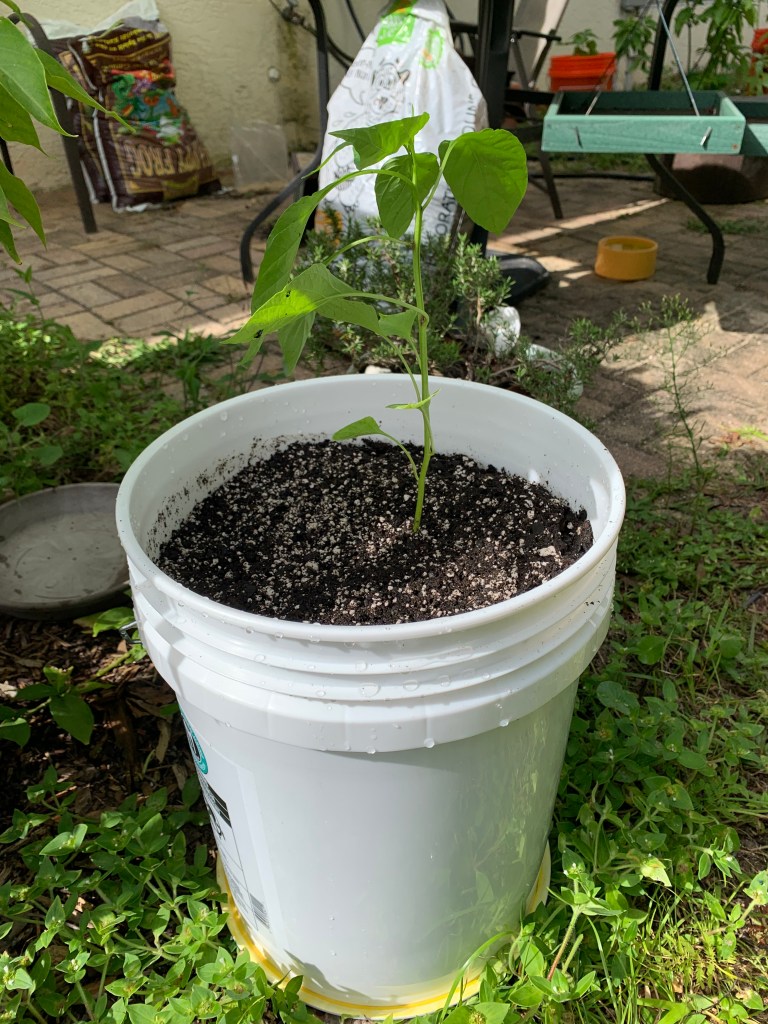
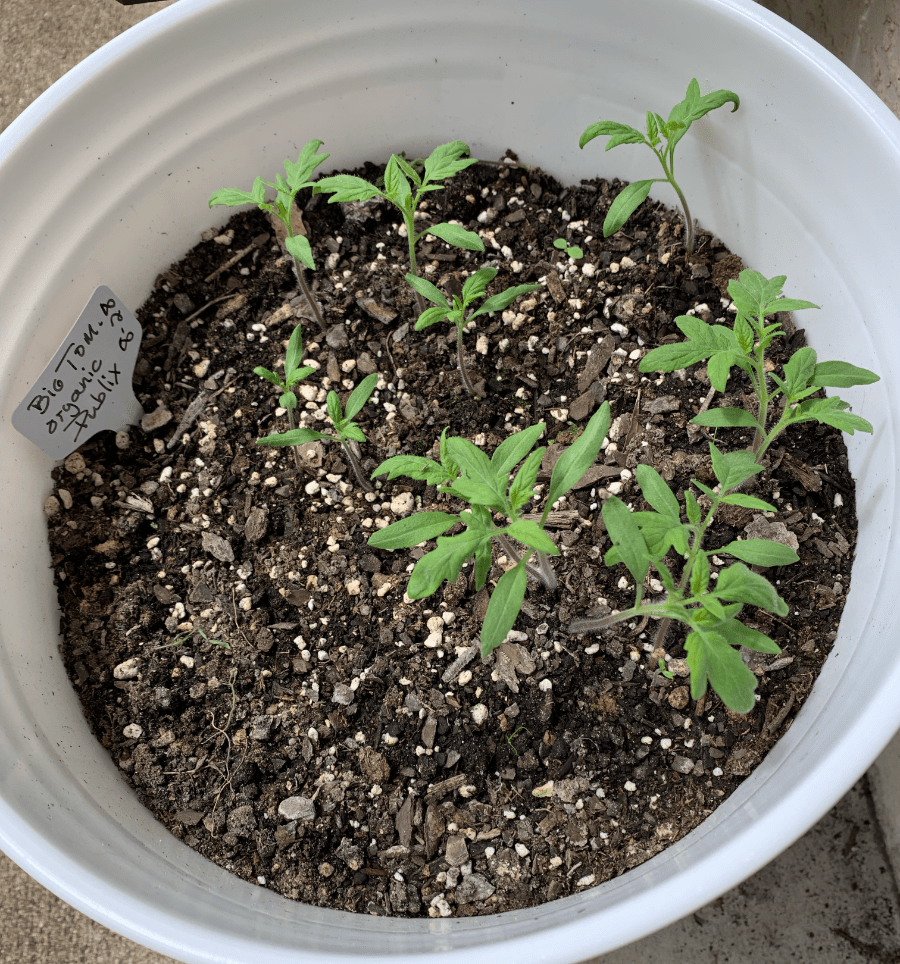
The eggplant is thriving, and I have some small tomatoes coming along in a bucket. Another bucket holds little pepper plants. I’ll be thinning them so that only one – the best, healthiest – plant remains.
Tomatoes
Vegetables Can Be Perennials Here
Growing in central Florida means that some vegetables can become perennials. Eggplant, tomatoes, peppers, and probably others, will grow for years. They will have down times, but the plant will be in that space year after year.
What that means is, the area won’t be empty to use for other crops. Whenever a large plant, such as an eggplant, grew in one of my grow boxes, it took over the whole thing! Each plant really needs its own space. A bucket for each plant seems like a good idea.